ALPHA↗REAL ESTATE PHOTOGRAPHY
Menu

THE VISUAL PLANNING NOTEBOOK / 01

Real estate photography.
See the whole story.

Make every frame explain something. Explore four visual pathways, build a practical shoot brief and ask clearer questions about the images your project needs.

Build your shoot brief ↗

SPACE / LIGHT / CONTEXT / PURPOSE

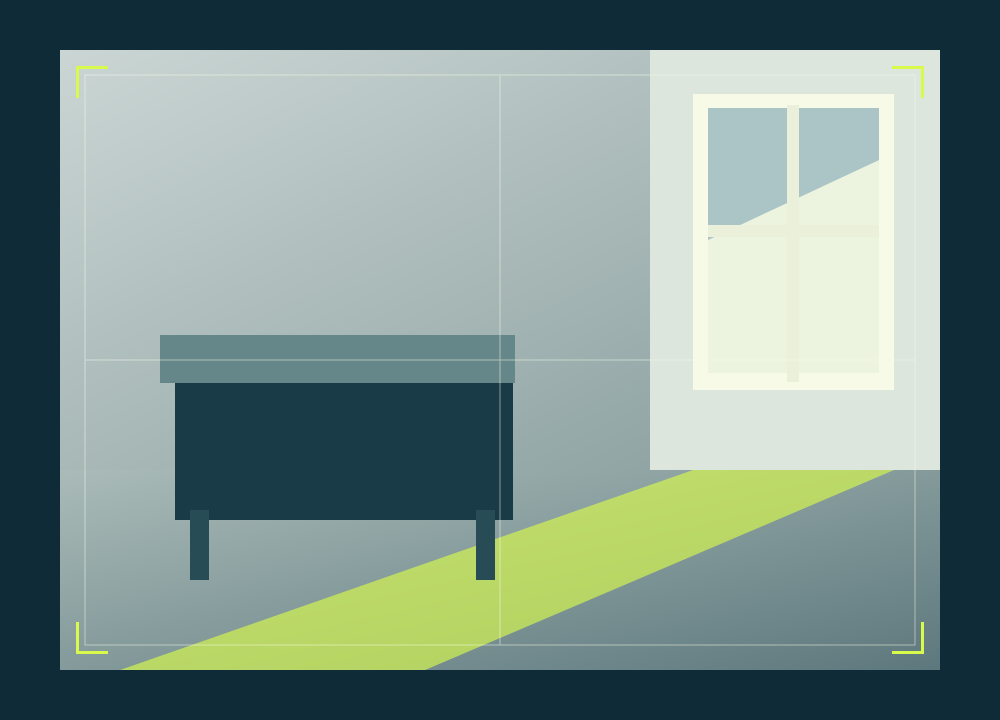
Conceptual geometric interior with window light and composition guides
FRAME 01 — LIGHT & SPACEConceptual illustration · not a property photograph

01 / CHOOSE THE MEDIUM

Real estate photography starts with a purpose.

A room, a route and a neighbourhood tell different stories. Choose the medium around the question a viewer needs answered, then use the source library to explore equipment and production topics in more detail.

01 — STILL

Show the space.

Plan a clear sequence: exterior, entrance, main rooms and useful details. Consistent viewpoints help viewers compare spaces. Keep vertical lines considered and avoid a crop that hides an important relationship.

Explore camera resources ↗
02 — MOTION

Connect the rooms.

Use movement when it explains the journey through a space. A simple sequence with a defined beginning and end can communicate more clearly than a collection of unrelated camera moves.

Browse video production ↗
03 — CONTEXT

Locate the story.

An elevated view may help explain a site's setting. First establish its purpose and discuss practical constraints with the operator, including access, permissions and conditions at the location.

Read aerial topics ↗
04 — OUTPUT

Work backwards.

Start with the destination: a website, presentation, listing platform or printed page. Note its crop and format requirements before planning the frames, so important features survive the final layout.

Open the camera catalog ↗

02 / BEFORE THE CAMERA

A better brief.
A clearer frame.

Write these four notes before discussing a shoot. Keep them specific enough for another person to act on, and leave room for questions about the location.

Find contact resources ↗
  1. Define the viewer.

    Describe who needs to understand the space and what decision the images should support. Name the publishing channels and any important deadlines to discuss.

  2. List the essentials.

    Identify must-show rooms, connections and details. Note restricted areas, personal items, reflective surfaces and anything that needs permission before appearing in a frame.

  3. Plan access and light.

    Record who can open the location, how rooms will be prepared and which features depend on daylight. Discuss alternatives if conditions change.

  4. Agree on the handover.

    Ask about file sizes, orientation, naming and delivery. Put intended usage, editing permissions and third-party sharing in writing rather than relying on assumptions.

03 / THE CONTACT SHEET

One space. Different questions.

Wide conceptual framing study
01 / WIDE — How do the elements connect?
Cropped conceptual window-light study
02 / DETAIL — Where does the light fall?

ILLUSTRATIVE COMPOSITION STUDIES · NOT A PORTFOLIO OR PROPERTY LISTING

04 / SOURCE READING

Keep exploring.

05 / PRACTICAL QUESTIONS

Before you make the frame.

What is real estate photography?

Real estate photography is the planned visual description of a property and its spaces. A useful set helps viewers understand layout, light and relationships between rooms. Start by identifying what each image needs to explain, then choose viewpoints that make the space understandable without misrepresenting its proportions.

What should I put in a shoot brief?

Include the property type, intended audience, essential spaces and the channels where images will appear. Add access arrangements, any areas that must stay private, desired file formats and questions about usage rights. A short written brief gives everyone a shared reference before equipment or scheduling decisions are made.

How do I prepare rooms for photographs?

Prepare rooms by removing personal information, simplifying surfaces and checking that lights work. Keep furnishings representative of the space and clear practical access routes. Walk through the intended views before the shoot, looking for reflections, cables and objects that might distract from the room itself.

When is video useful alongside still images?

Video is useful when movement helps explain how spaces connect or how a location feels over time. Stills remain valuable for close inspection and flexible page layouts. Decide whether a sequence adds information before requesting one, and agree on orientation, length, captions and audio requirements for its intended destination.

What should I ask about aerial imagery?

Ask whether an elevated viewpoint would explain the site, approach or surroundings more clearly. Discuss permissions, privacy, airspace and weather with the person responsible for the proposed operation. Feasibility depends on the location and circumstances; an aerial image should have a clear purpose within the wider visual story.

Which image sizes should I request?

Request sizes that match the actual publishing channels and keep a high quality master if your agreement allows it. Websites, listing platforms, print and social media can require different dimensions or crops. Ask how files will be named and delivered, and verify the current requirements with each destination before export.

Who can use the finished photographs?

Usage depends on the agreement with the image creator and any other relevant permissions. Clarify the named users, publishing channels, duration, editing rights and whether third parties may receive files. Owning a property or receiving a download does not by itself explain every right associated with the photographs.

Are the framing studies real properties?

No. The geometric framing studies on this homepage are conceptual illustrations created to demonstrate viewpoint, light and composition. They are not photographs of a property, a completed assignment or an available listing. Use them as prompts for your own brief, alongside source reading that fits your project.
YOUR NEXT FRAME

Start with what the viewer needs to know.

Keep your purpose, essential views and delivery questions together. A useful brief makes the next conversation more precise.

Return to the brief ↗